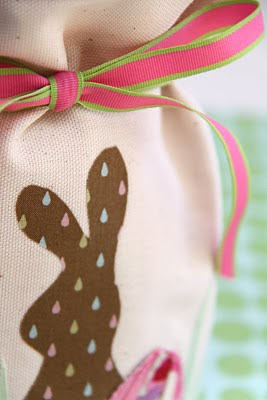
So, I guess I had a few plain flower vases lying around and decided to spruce them up a bit for my Easter table. This is not necessarily a tutorial that is anything "new", but if you've never made a simple bag with a round bottom, this could be helpful.... again, I'll show you how to get started and you take the creativity from there.

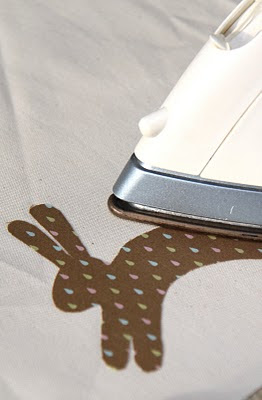
 Using a double-sided interfacing, cut out the shape that you would like to apply to your bag and iron it in place. For the outer fabric I used a simple heavier weight cotton muslin (ca. 10.5 x 15.5 inches, 26.5 x 39.5 cm). I used both the "Hippity-Hop" and the "Hippity-Hop Friends" patterns. With the "Hippity Hop" pattern, I simply reduced it down and added a few "extras"(like a miniature version of the "Easter Deco" pattern).

 Select a lining fabric for your bag and cut two rectangles the same size for the lining fabrics. Fold the fabric in half and stitch along the short edge of the fabric to create a tube. Iron seam open.

 Cut a circle (ca. 5 inches, 13 cm in diameter) and fold it in half. Mark the fold line on both ends. Fold circle again so the marks match each other and mark the new fold lines on the circle. (you should have four marks) For the bag (tube), fold in half using the seam as one folded edge and mark on the folded edge. Open the bag, match the marks, fold in half again and mark the folded line on the opposite sides.
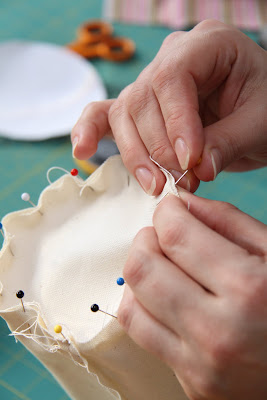
 Match the markings on the bag to the markings on your circle. Pin the four marked notches first and then pin the rest of the circle in place easing the fabric in as you go. Stitch around the circle.
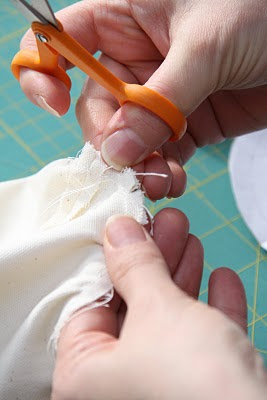
 Once you have stitched all the way around, cut several notches in the fabric towards the seam, being careful not to cut through the seam. This is very important when sewing curves to make sure that the fabric lies correctly without bunching up. Iron seams. Repeat steps for second bag and lining.
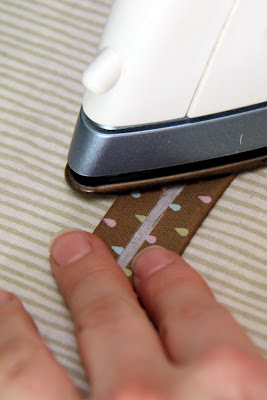
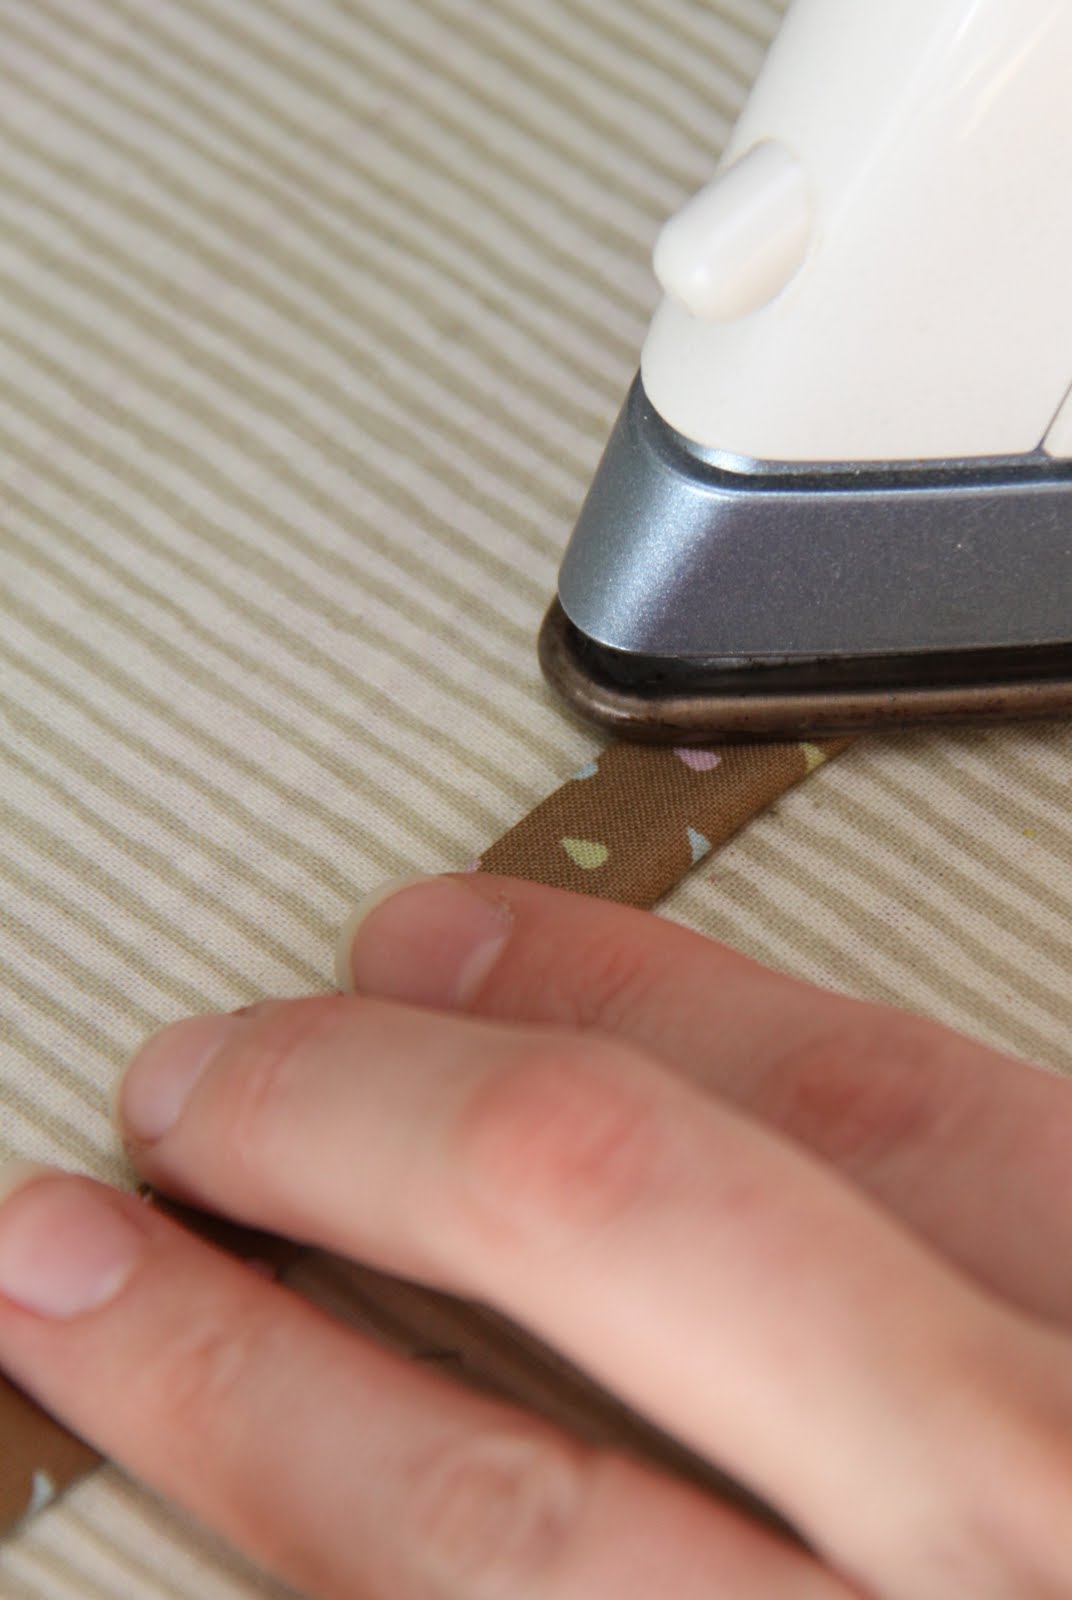
 To create a band, cut a coordinating fabric in a long strip (ca. 2 x 16.5 inches, 5 x 42 cm) Fold each edge the same distance towards the center and iron. Fold the strip in half again and iron.
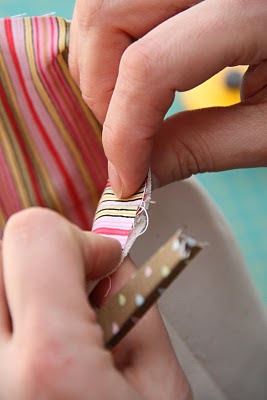
 Place the finished lining inside the finished bag wrong sides together. Open the band you just made and sandwich bag in between the band to create a finished edge.
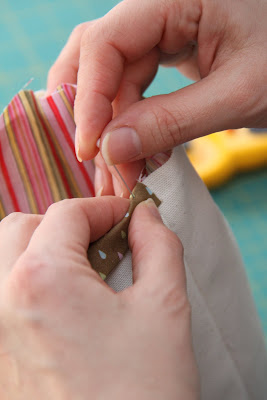
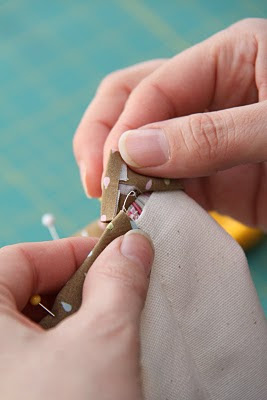
 Pin in place and continue around the bag until you come to the end. Fold the fabric back so you have a finished edge and pin in place.

 Stitch around the top of the band in a coordinating thread and you couldn't have an easier way to decorate a boring vase or make a bottle of wine a special "Easter" present.


 Using a double-sided interfacing, cut out the shape that you would like to apply to your bag and iron it in place. For the outer fabric I used a simple heavier weight cotton muslin (ca. 10.5 x 15.5 inches, 26.5 x 39.5 cm). I used both the "Hippity-Hop" and the "Hippity-Hop Friends" patterns. With the "Hippity Hop" pattern, I simply reduced it down and added a few "extras"(like a miniature version of the "Easter Deco" pattern).
 Select a lining fabric for your bag and cut two rectangles the same size for the lining fabrics. Fold the fabric in half and stitch along the short edge of the fabric to create a tube. Iron seam open.
 Cut a circle (ca. 5 inches, 13 cm in diameter) and fold it in half. Mark the fold line on both ends. Fold circle again so the marks match each other and mark the new fold lines on the circle. (you should have four marks) For the bag (tube), fold in half using the seam as one folded edge and mark on the folded edge. Open the bag, match the marks, fold in half again and mark the folded line on the opposite sides.
 Match the markings on the bag to the markings on your circle. Pin the four marked notches first and then pin the rest of the circle in place easing the fabric in as you go. Stitch around the circle.
 Once you have stitched all the way around, cut several notches in the fabric towards the seam, being careful not to cut through the seam. This is very important when sewing curves to make sure that the fabric lies correctly without bunching up. Iron seams. Repeat steps for second bag and lining.
 To create a band, cut a coordinating fabric in a long strip (ca. 2 x 16.5 inches, 5 x 42 cm) Fold each edge the same distance towards the center and iron. Fold the strip in half again and iron.
 Place the finished lining inside the finished bag wrong sides together. Open the band you just made and sandwich bag in between the band to create a finished edge.
 Pin in place and continue around the bag until you come to the end. Fold the fabric back so you have a finished edge and pin in place.

 Stitch around the top of the band in a coordinating thread and you couldn't have an easier way to decorate a boring vase or make a bottle of wine a special "Easter" present.


